Chapter 2.2.7 Okular
Okular is the PDF viewer for Lubuntu 24.04
Usage
To move the area shown on the screen down press Down arrow and conversely to move it up use Up arrow. You can also use the scrollwheel on your mouse to easily move up and down. To go to the next page press right arrow, , or press press the downward pointing arrow on the toolbar. To go to the previous page press Up arrow, , or the upward pointing arrow on the toolbar. To see what page you are in is in a box between the button for next and previous page on the toolbar. To the right of this box it shows what page this is of the total number of pages of the document. To switch to a particular page type in the box in the center of the toolbar, press control +G, or .
When you first open Okular you can open a file with the Open Document button, , or press Control + O. If you have a recently opened document it will appear on the right under Recent Documents on first opening Okular or . To clear your recent documents click the Forget All button when you first open Okular or . Open Recent –> To reload your file if something is changed press F5 or . To save a PDF or press Control +S. To save a file with a separate name or press Control + Shift +S. To print your document press Control + P or . To see info on your file or press Alt + Enter.
To zoom out press the - button on the toolbar, press Control + -, or . To zoom in press the + button on the toolbar, press Control + +, or . To zoom to have the page zoom to have the width fill the whole window :menuselection:` View –> Fit width` or select next to the + and -. To zoom to see a full page or select next to the + and - button. To zoom to 100% , press Control +0, or select on the bar next to the + and - buttons.
To view pages facing each other like an open book select from View Mode or . To see an open book view with the first page centered select from View Mode or . To view multiple pages at once select from View Mode or . To switch back to viewing one page select from View Mode or . To choose to only view whole pages at once and not scroll to the top and bottom of a page uncheck . To rotate your view to the left . To rotate your view to the right . To make your view back to how it was at the start . To have a fullscreen view press Control+ Shift+ F or .
To have a zoomed in view of your document without margins check the View –> Trim View –> Trim Margins. To have your view trimmed to where you select .
To select Text press Control + 4, , or select from the right of the toolbar. To select an area press Control + 3, , or select for the right of the toolbar. To select tables press :kbd:` Control + 5`, , or select from the right of the toolbar. To switch back to moving the view with mouse , press Control + 1, or press the Browse button on the toolbar.
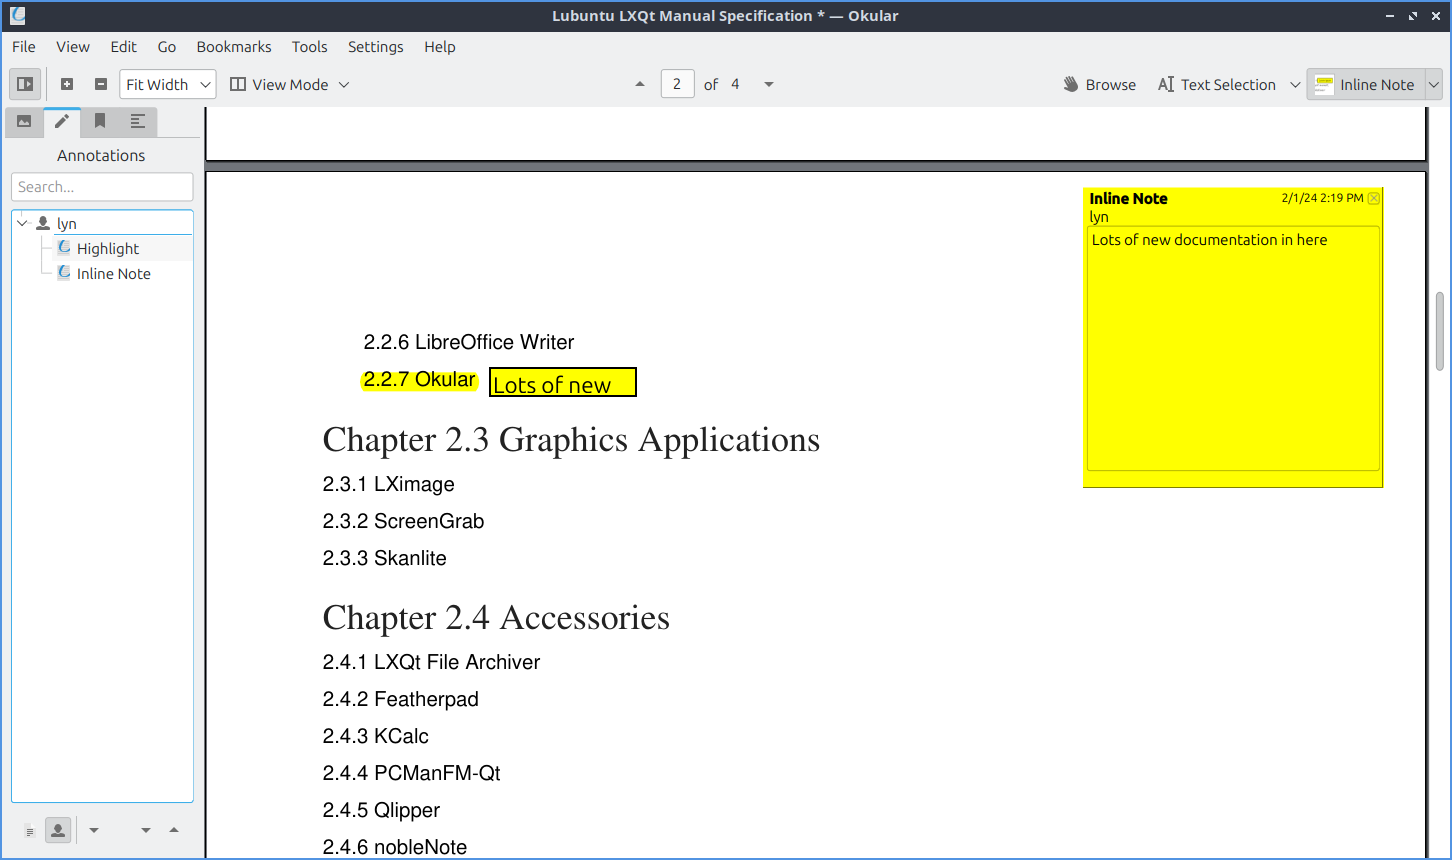
To highlight something in yellow press 1 or select from the drop down of the far right of the toolbar. To highlight in green press 2 or select from the menu on the far right of the toolbar. To underline something press 3 or select from the toolbar on the right. To insert a text note into your file press 4 or select from the menu on the right of the toolbar. Then you can click where you want the note and a window will popup you enter your text into. To insert a note inline and not have it be over text making it illegible press 5 or select Inline Note from the right of the toolbar. Then left click on where you want the note and type the note in the yellow pop up. To have a pop up note press 6 or select pop up note from the toolbar on the right. The left click where you want the note and type in the note as you want.
To undo an annotation press Control +Z or . To redo something you undid press Control + Shift +Z or . To select all press Control + A or . To select all text on a current page . To copy something you have selected press Control + C or .
On the left side of the window Okular has a sidebar. The leftmost tab has thumbnails of the pages of your document. The shaded part of the thumbnail shows the part of the page that is displayed. At the bottom of the thumbnail is a page number. To switch to a page with the sidebar left click on that page. The middle tab of the sidebar shows annotation. To search through your annotations look into Search bar. To have the page shown in the tree of what press the leftmost button on the bottom that looks like a page. To show who made the comment press the button that looks like a person. To jump to an annotation simply left click on it. To open all annotation press the downward pointing arrow on the bottom right. To collapse all annotations press the upward pointing arrow. The third tab of the sidebar shows your bookmarks. To hide bookmarks for other files uncheck Show for all Documents checkbox. To search your bookmarks enter in the Bookmarks bar. To open your bookmark double left click on it. To add a bookmark left click on the Add Bookmark button on the bottom. To remove a bookmark on the bottom left click on the Remove Bookmark button. The rightmost tab only shows up if your document has it is a Contents tab. To search through your contents type in the Search bar. To go to the part of the section of the table of contents simply left click on it.
To search through your document press Control + F or . To type in the bar in the bottom what you want to search for. To get to the next result press F3, the Find button on the bottom, or . To go to your previous search result press Shift + F3, the Previous button on the bottom, or :menuselection:` Edit –> Find Previous`. To make searching case sensitive press the Options button and check the checkbox. To start searching at your current page left click on the Options button and check the checkbox. To start searching as you type press the Options button and check the checkbox. To close find press the x button.

To go all the way to the beginning press Control + Home or . To go all the way to the end of the document Control + End or . To go back after changing pages .
Then to go forward from where you were . To show a magnifier for Okular press Control +6 or . Then left click over where you want to have magnified. To zoom on a particular area press Control+6 or . The left click and select which area you want to zoom in on. To zoom back out right click.
To switch to a presentation view press Control + Shift + P or . To get out of presentation mode press Escape or move the mouse to the top right corner and left click the quit button. To go forward a slide press Right arrow or scrolling down with the mousewheel. To go to the previous slide press Left arrow or scrolling up with the mousewheel. To go to the first slide press Home and the last slide by pressing End.
To view a toolbar on your presentation move the mouse to the top of the screen. The toolbar can go to the previous slide with the left pointing arrow and the next slide with the right pointing arrow. To go to a particular slide type the page number in the box. To autoadvance slides press the play button. To pause autoadvancing slide press the pause button. To draw on your presentation left click on the color you want to draw with left click on that color and then left click to draw using the mouse. To erase your drawing press the eraser button. To entirely erase a drawing press the trash can button. To show which screen to display the presentation on press the screen button and select your screen.
Version
Lubuntu ships with version 23.08.4 of Okular.
Customizing
To Configure Okular press Control + Shift + , or . The General tab has settings for files and how to display things. To use smooth scrolling check the Use smooth scrolling checkbox. To hide scrollbars on Okular uncheck the Show scrollbars checkbox. To have clicking on thumbnails of a page link to that page check the Link the thumbnails with the page checkbox. To hide the hints and info messages uncheck the Show hints and info messages checkbox. To have notifications about embedded files forms or signatures check the Notify about embedded files, forms, or signatures checkbox. To show the document title in the window titlebar check the Display document title in titlebar if available checkbox. To choose what to do when you don’t have a document title use the When not displaying document title drop down menu. To choose a custom background color check the Use custom background color checkbox. Then left click on the to the right to pick your background color.
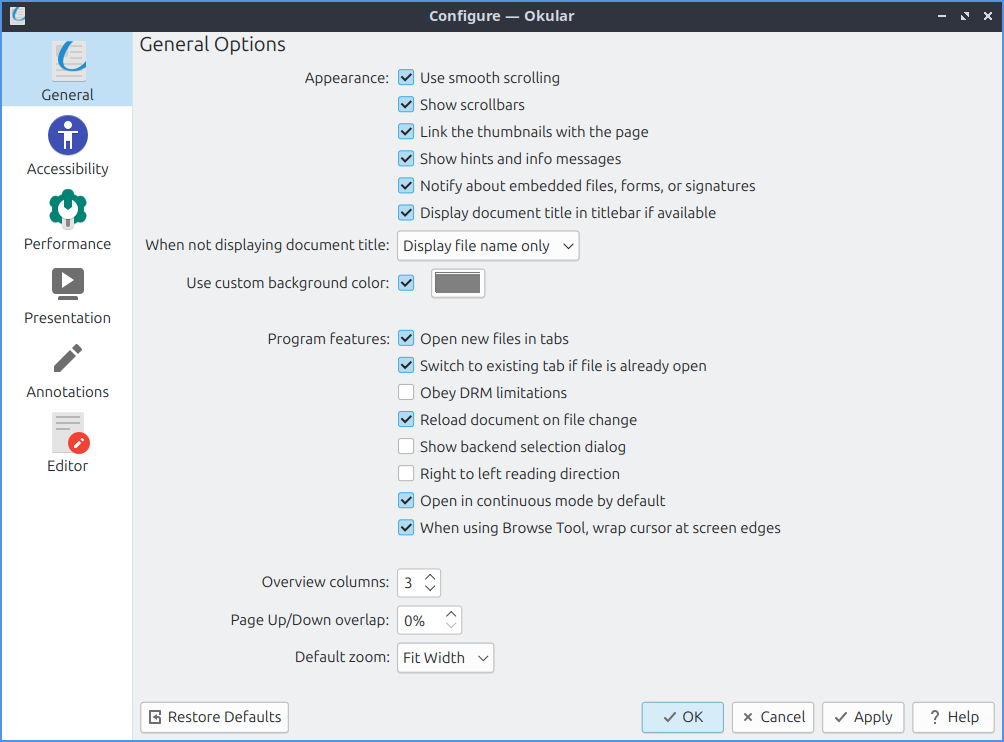
To have tabs for opening new files check the Open new files in tabs. checkbox. To switch to an existing tab if the file is already open check the Switch to existing tab if file is already open checkbox. To not obey DRM limitations uncheck the Obey DRM limitations checkbox. To reload a file if the file changes check the Reload on file change checkbox. To display right to left text check the Right to left reading direction checkbox. To not load in continuous view by default uncheck the Open in continuous mode by default checkbox. To choose your default zoom change the Default zoom field.
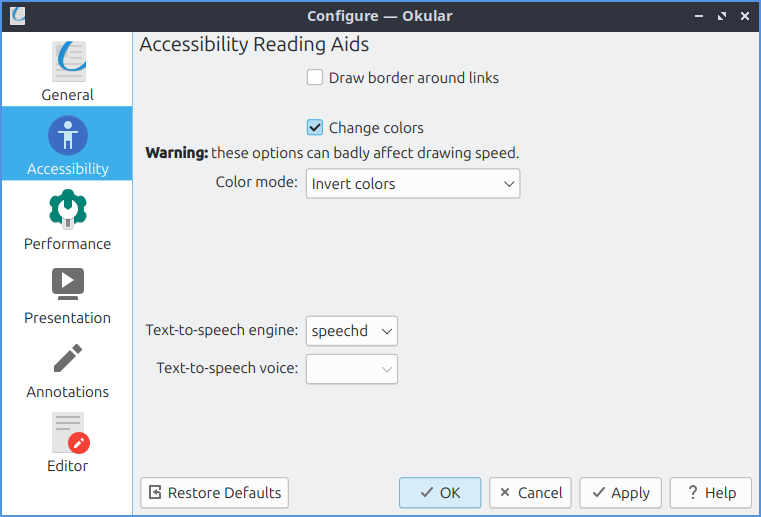
The Accessibility tab has settings making this easier to read. To draw borders around links check the Draw borders around links checkbox. To change how the colors appear check the Change colors checkbox. To change how the colors appear use the Color mode menu.
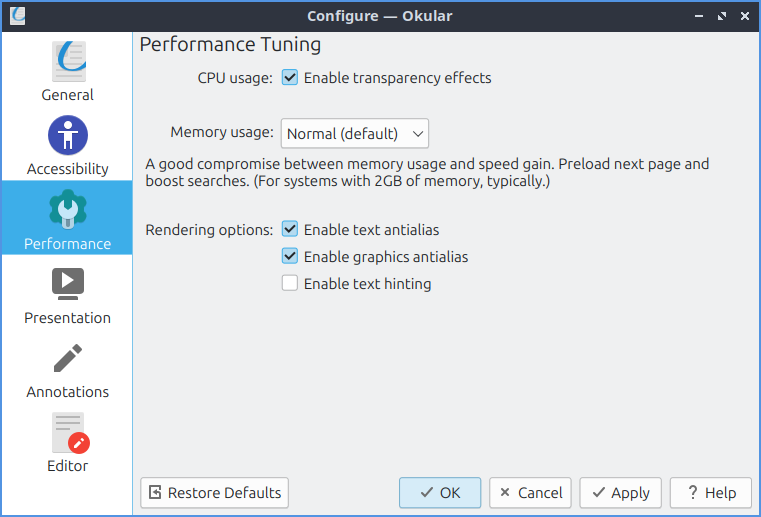
To change how Okular performs use the Performance tab. To use less CPU uncheck the Enable transparency effects checkbox. To change how much memory Okular uses change the Memory usage menu. To enable text antialiasing for Okular check the Enable text antialias checkbox. To have antialiasing on the graphics check the Enable graphics antialias checkbox. To have font hinting in the text check the Enable text hinting checkbox.
To have settings for your presentation use the Presentation tab. To have your slides advance automatically check the Advance automatically checkbox. To change soon to change slides change the drop down to the right of Advance automatically. To choose the color of your background choose from the Background color field. To change the transition of Okular use the Default transition menu. To choose which screen to present on by default use the Preferred Screen menu.
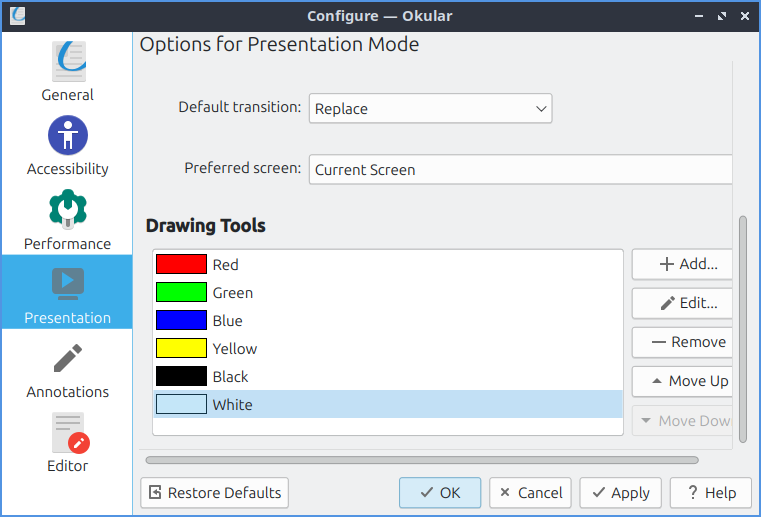
To change settings for Annotations in Okular sue the Annotations tab. To switch how many things to be on the annotations toolbar use the Annotation toolbar menu. To change your name for annotations change the Author field. To make a custom new annotation press the Add button. To change an existing annotation press the Edit button. To delete and annotation press the Remove button. To move an annotation down press the Move Down button. To move an annotation back up press the Move Up button.
